|
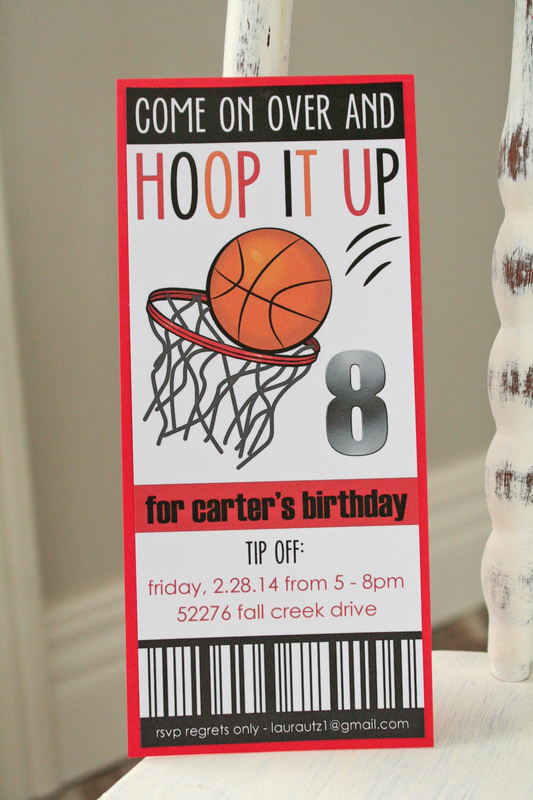
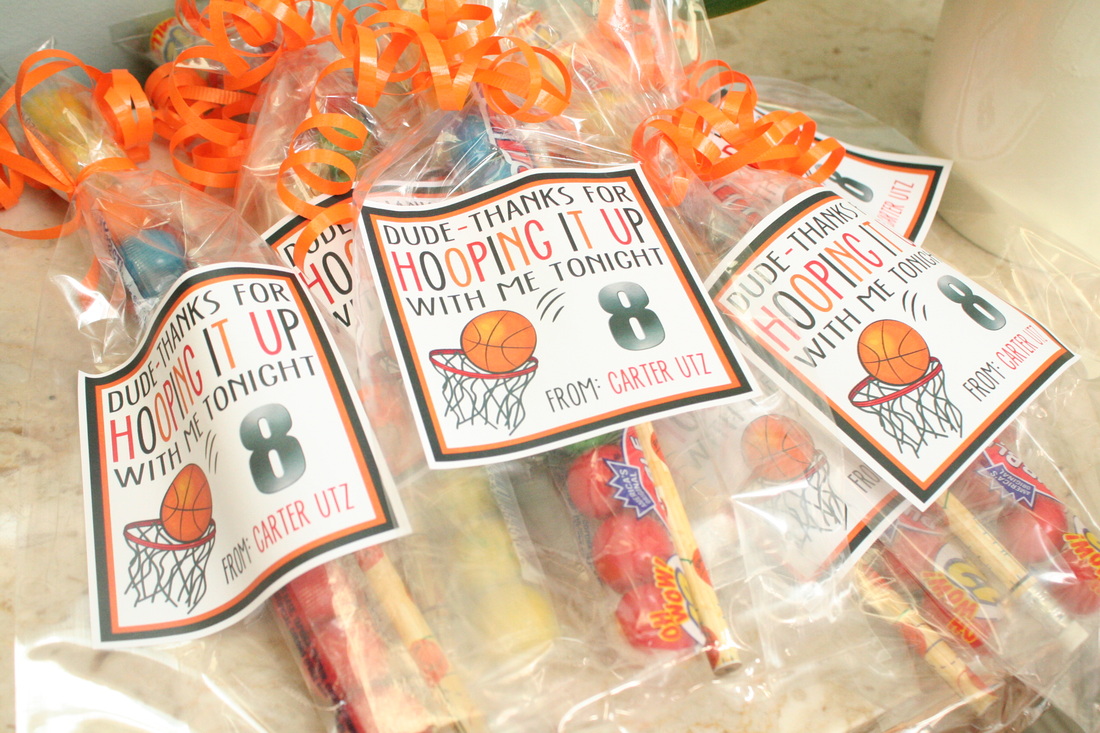
I honestly can't even believe that my oldest is turning EIGHT soon. Seriously! Where did the time go? Given that Carter's obsessed with everything sports, he was excited to plan a small birthday gathering at our house where the boys would play some hoops and eat some pizza + cake. He came up with "February Fun," a play on "March Madness" since his party will be in February. Silly Carter.
0 Comments
If you have been to my house, you will know that I am a big fan of decorating with typography. I've made some and purchased some. I truly believe that reading affirmations, favorite quotes and positive statements helps us start our days off on the right foot with a positive outlook. My favorite one in our home is a big antique frame with a print reading: Work Hard and Be Nice to People. We read it every, single time we head upstairs and it's a fantastic reminder for all of us.
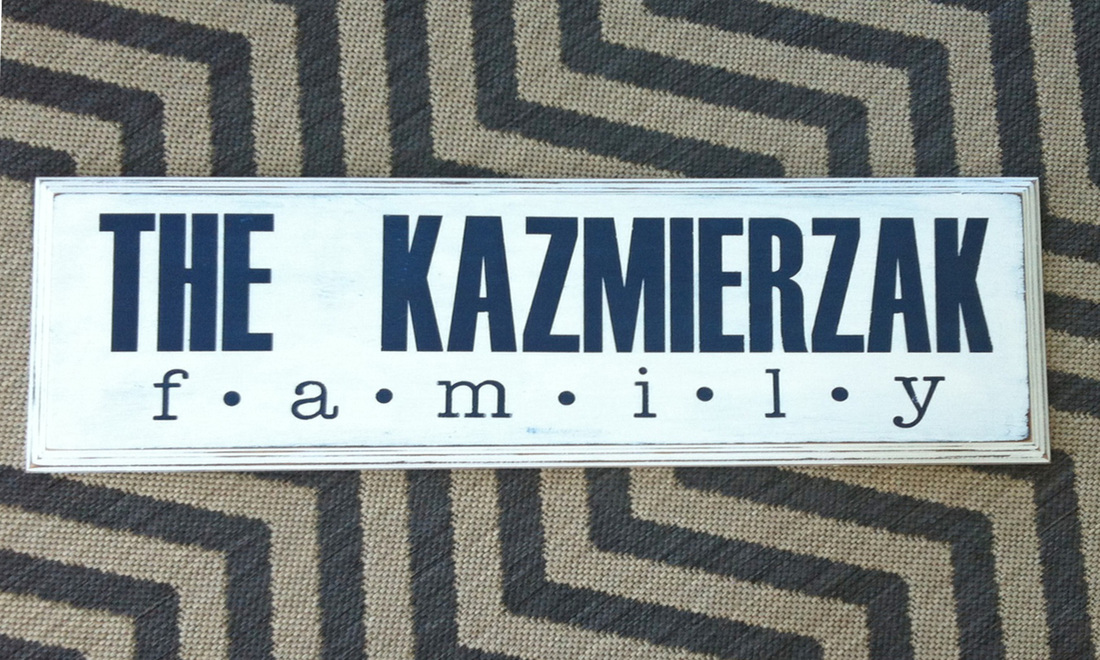
Personalized Family Name Wall Sign:
* This one measures approximately 29" x 9.5" * Repurposed wood * The one shown is hand-painted white with navy blue painted text * Distressed * Completely sealed/protected with a matte finish * Features hanger on the back side to hang on nail or hook It's hard to believe that my middle turned 5 today. His big brother was quick to remind him that his birthday "isn't actually until 11:02am, so pretty much when you're eating lunch." Thanks, big brother. If you want a date, time, or score memorized...see my oldest. Without him, I wouldn't remember anything.
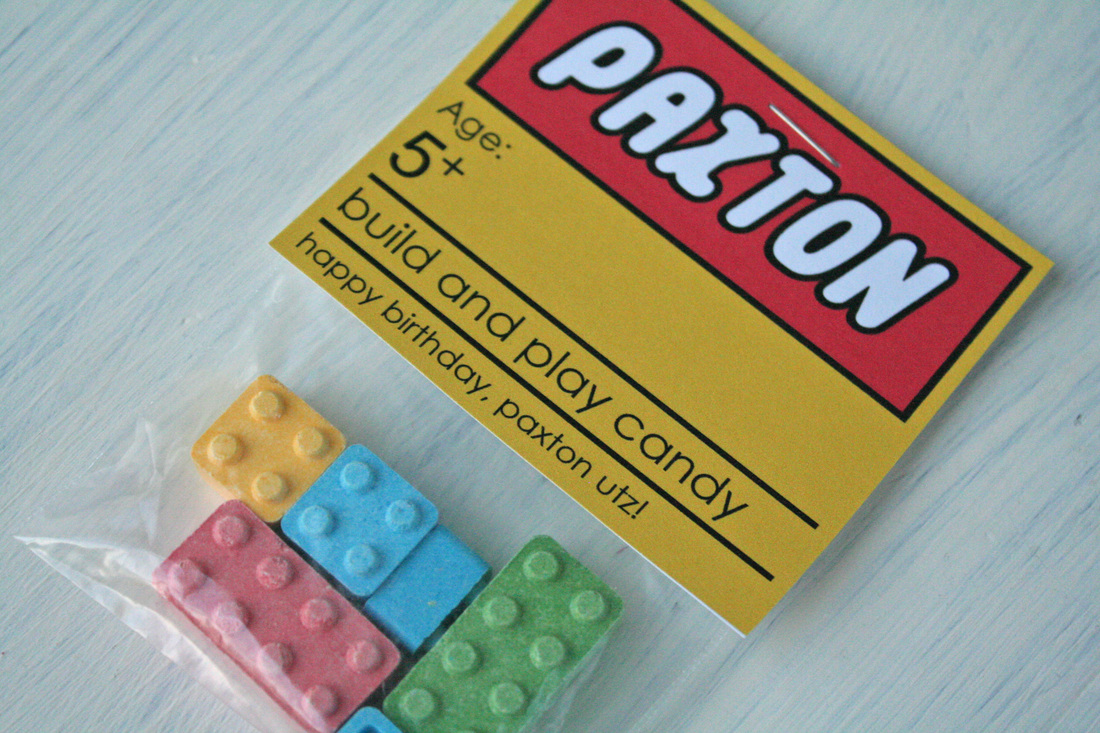
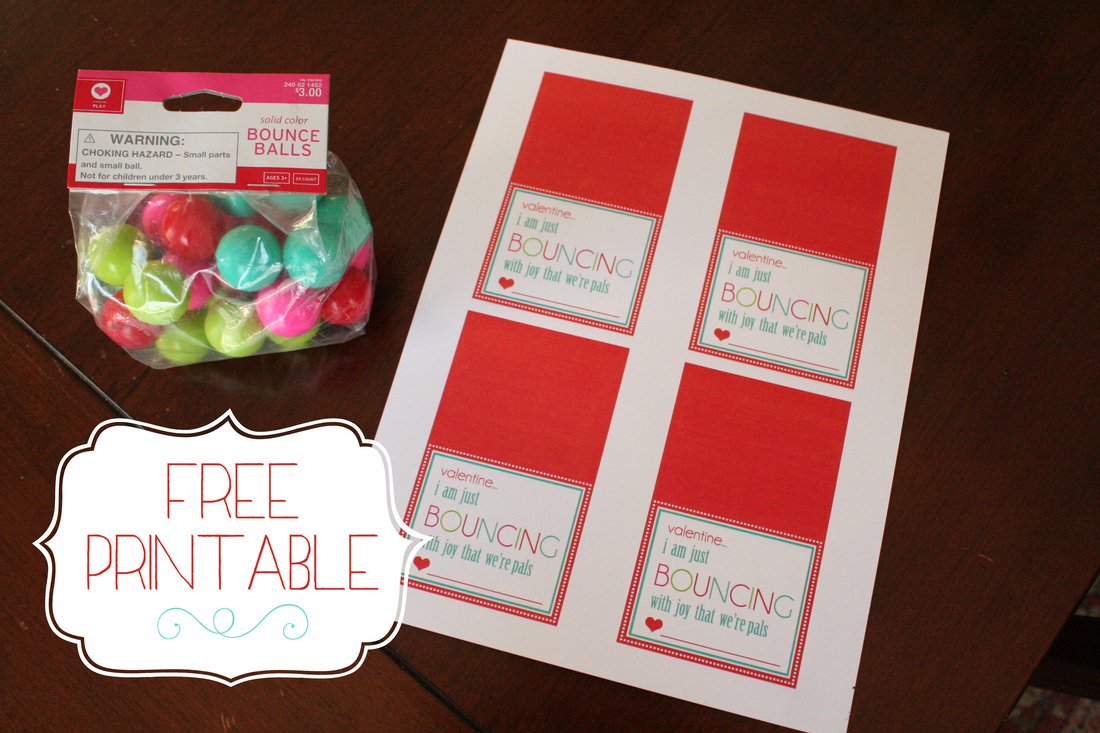
Paxton recently became obsessed with Legos and discovered "Lego" candy at his sitter's house a few months back. We were talking about what to use to decorate his birthday cake with and he was quick to suggest (or beg for) these awesome little candies. We darted off to the mall and found a candy store - who knew? And sure enough, there were two boxes left - thank GOD. We then decided to share the build + play treats with his classmates at school today for his special day:) 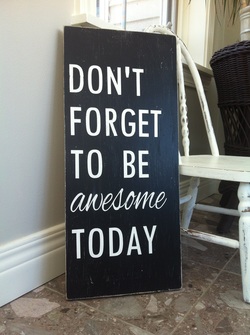 We celebrated a good friend's birthday on Friday - what a fun night! They've recently done some major remodeling, so I thought I'd give her something to hang up in her new, fresh home! This family is truly awesome in every way, shape & form already...but it doesn't hurt to have a little visual reminder before we start our day. I bought a Silhouette Cameo this fall when I was working on our school auction projects and am using that to create some custom signs. I think I'm finally starting to get the hang of that bad boy machine! A few weeks ago, I opened an Etsy shop to sell some custom signs. It's still very much a work in progress, as I don't have much inventory at all yet. More to come...! Do not think I'm crazy. I truly love Pinterest, crafting, cutting, pasting, printing, designing, painting, etc. A lot of people would think, "Seriously? Is this woman nutz?" Yes, I completely am...and I thoroughly enjoy it. All of it. Some people get anxiety from not having time, energy or ideas to create something. I have the opposite problem. I would do it all day long if I could. And lucky me...I get anxiety from silly things like bumpy airplane rides. Awesome. And I'm flying with my 3 kids to Arizona for the first time ever in April. Sweet. Wish me luck! 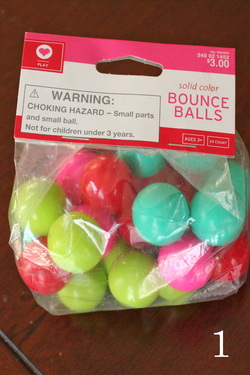 Every little kid likes bouncy balls, right? They drive me bananas and my boys LOVE them. I picked up this package of bouncy balls after Valentines Day last year at Target for about $1.50 and figured I'd tuck them away until this year. When I pulled them out this year, Paxton claimed them all as his own, but after a little bribing...decided to share about 16 with his preschool classmates. 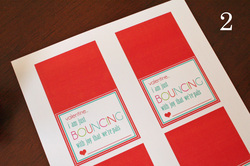 Using Photoshop, I created a valentine design incorporating a little "bouncing" theme into it...thank you Pinterest. The colors in the design are based on the colors of the bouncy balls, fun + bright. My fonts were Champagne & Limousines and Birch Std. I then placed 4 of those designs into an 8.5 x 11" design (free printable below) and printed them on white card stock. 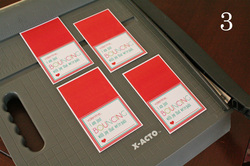 Using my trusty paper-cutter, I trimmed them down to individual designs, leaving a tiny white border on the perimeter. 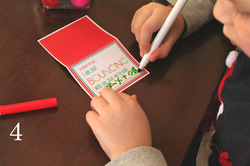 Enter Paxton...my soon-to-be five year old who got right down to business with signing his name & folding. 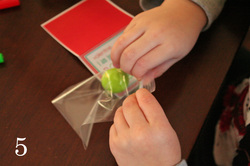 Next he popped a bouncy ball into little zip-lock baggies and sealed 'em up! I them placed them over the baggies and stapled them once on each side, so that little preschool hands could still open them up easily. 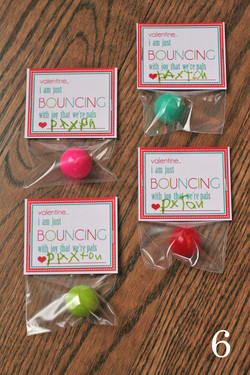 And there you have them! Click on the link above to download your own free printable for your own use!
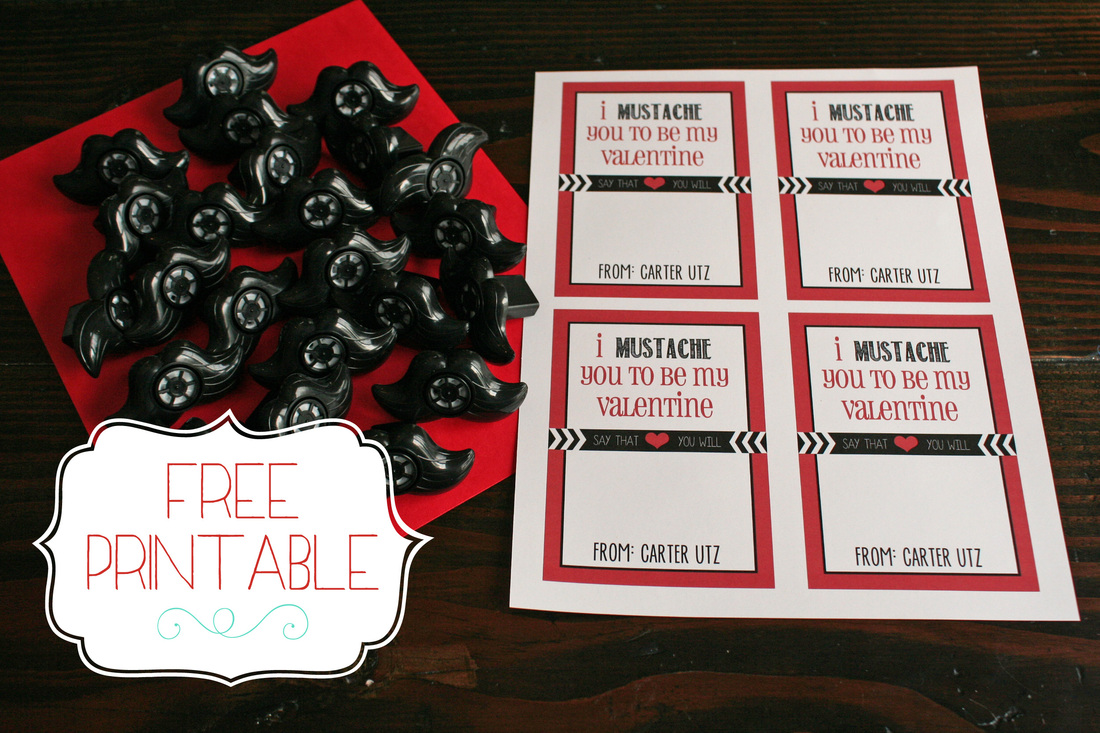
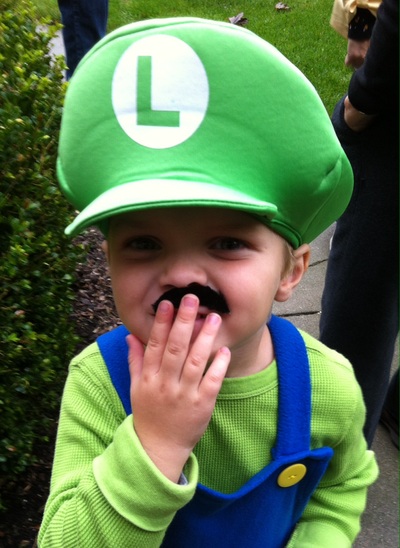
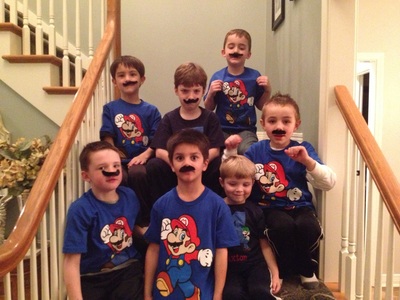
So let's talk mustaches. I never really understood the whole craze with them at all. I still don't, really. But, I do have two boys who are obsessed with Super Mario, which has led us to become fans of these odd mustaches. Sort of. I guess these photos below support that...I mean seriously. How cute are they? So, Carter wasn't feeling well this morning and stayed home from school. We decided we'd get to work on his class valentines. I love checking out Pinterest for ideas and then if I see something I like, I try to put my own little spin on them. Sadly, I'm sort of addicted to Pinterest...true story. 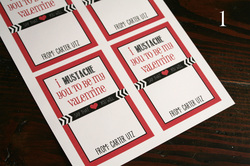 We saw the cute Mustache Whistles and knew they were going to be the theme of our valentines. Using Photoshop, I created a 3.5" x 5" design. I tried to make it look somewhat "boyish." Carter requested it to be all BLUE, but I convinced him that since it was for Valentine's Day...we should pop RED in there. He agreed. The fonts I used were: Pharmacy, Return to Sender, and Forever. I just love mixing fonts. Next, I copied that design onto a new 8.5" x 11" design and fit 4 of the valentine designs on 1 piece of white card stock. Perfect! 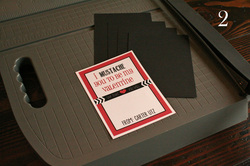 Using my paper cutter (every teacher owns one, right?), I cut pieces of 8.5" x 11" black card stock down in half, both ways. Each rectangle piece should measure 4.25" and 5.5". 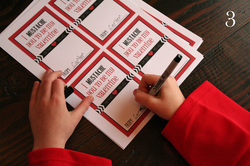 On the next copies, I made an edit and changed his name to a blank line, where Carter then signed his name...much more personal:) 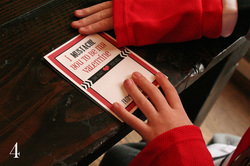 Next, he used a glue stick to glue the white card stock on top of the black card stock, centered. We did end up trimming some up a tad more to even them out. Don't you just love the dirt under 7 year old boys' fingernails? 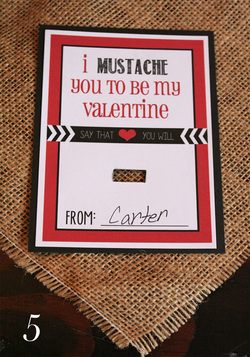 Next, I drew a rectangle in the center of the lower half of the valentine. This is where the blow portion of the whistle is placed. I then used an Exacto Knife to carefully cut out the rectangle. Then, you just press the whistle through the hole and it's secured with the card stock. 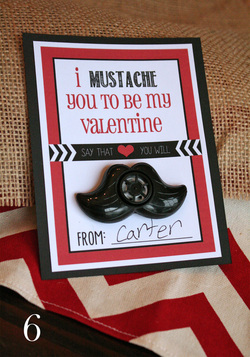 And here's the finished valentine! Carter's pretty pumped about them. Of course, they make an annoying whistle sound that I am sure all of the moms will just loooove... Happy Valentine's Day! Click on the Free Printable copy on the link above to download your own copy to use!
|
Hello there! Welcome to my teeny tiny space where I share a little home inspo as well as my passion for teaching and working with children. Thanks for stopping by!Archives
May 2018
Categories
All
|
|
|



 RSS Feed
