After months of pinning on Pinterest, reading on-line and watching You Tube videos - I finally did it. I cut and installed crown molding! ALL.BY.MYSELF. Can you tell I'm a little excited? My husband has no idea what's to come in other rooms of our house...
When we bought our house and moved in, the downstairs trim had been updated and painted white, while the upstairs trim was still the red oak brown color from the 80's. I couldn't stand it. We primed and painted the upstairs trim immediately. Our trim is your basic colonial builder-grade trim - pretty skimpy in size with little detail. Boring. Luckily, there was some nice, thick crown molding in our foyer, living, dining & piano rooms. It's just gorgeous and I love it.
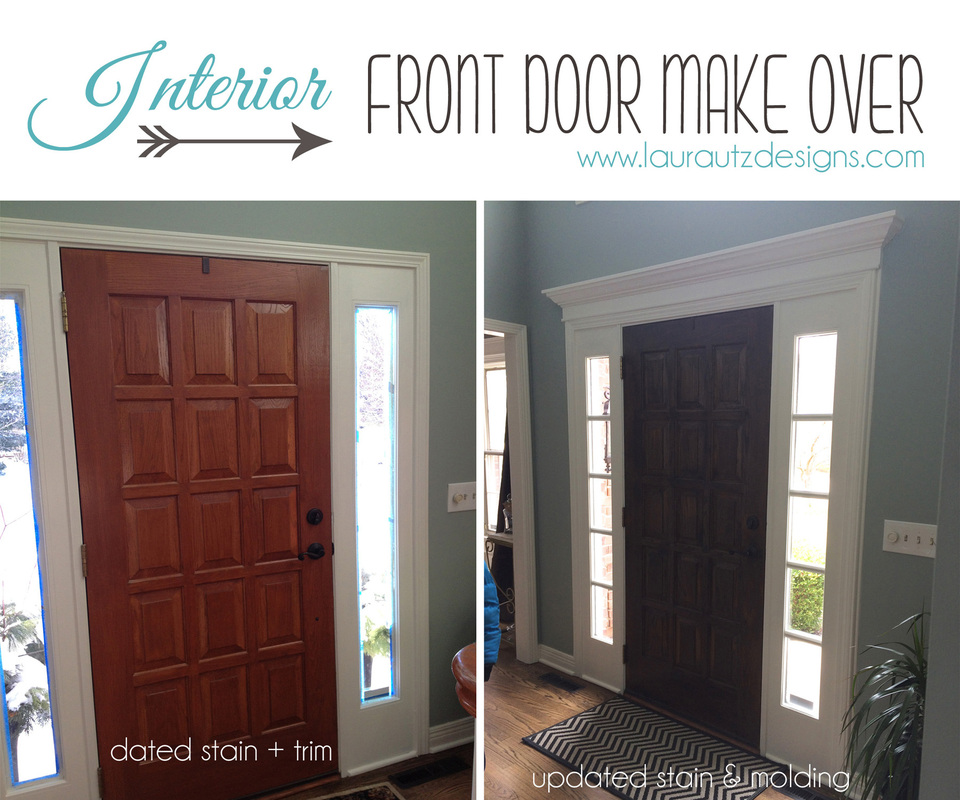
A year or so after moving, we had all of the hardwoods refinished and stained from the red oak color to a dark walnut stain. I love them, but then realized we had wood doors, stair railings & stair treads that still featured the dated red stain. Ugh. So, refinishing the inside of our front door was a must, and the first of many to do. I have done only 4/20 doors... God help me. I may end up painting the ones upstairs.
When we bought our house and moved in, the downstairs trim had been updated and painted white, while the upstairs trim was still the red oak brown color from the 80's. I couldn't stand it. We primed and painted the upstairs trim immediately. Our trim is your basic colonial builder-grade trim - pretty skimpy in size with little detail. Boring. Luckily, there was some nice, thick crown molding in our foyer, living, dining & piano rooms. It's just gorgeous and I love it.
A year or so after moving, we had all of the hardwoods refinished and stained from the red oak color to a dark walnut stain. I love them, but then realized we had wood doors, stair railings & stair treads that still featured the dated red stain. Ugh. So, refinishing the inside of our front door was a must, and the first of many to do. I have done only 4/20 doors... God help me. I may end up painting the ones upstairs.
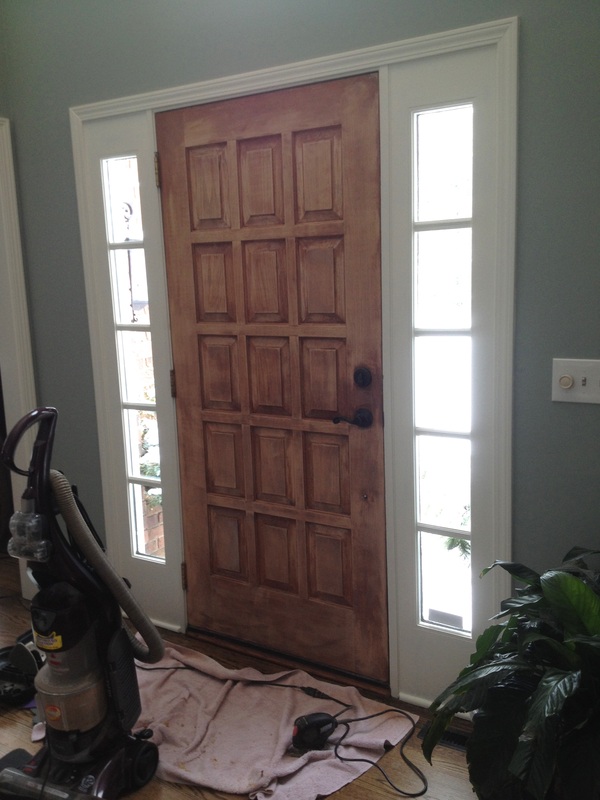
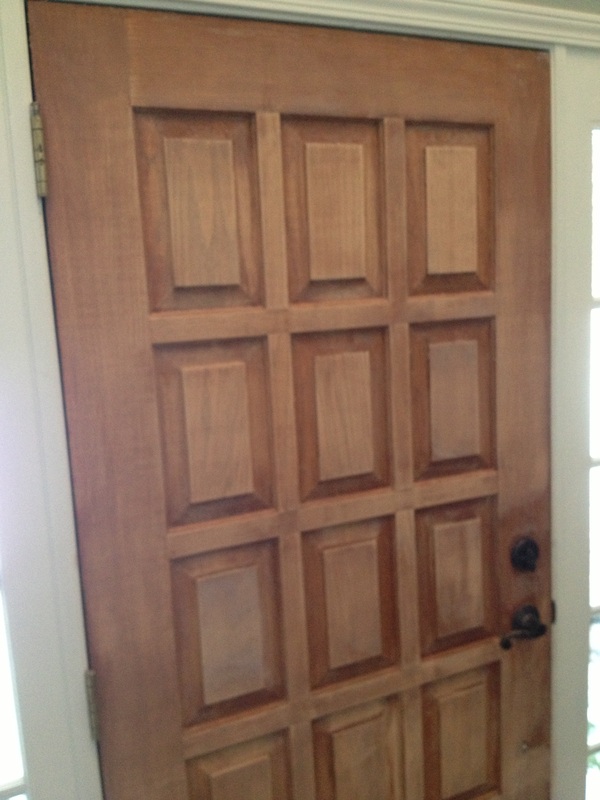
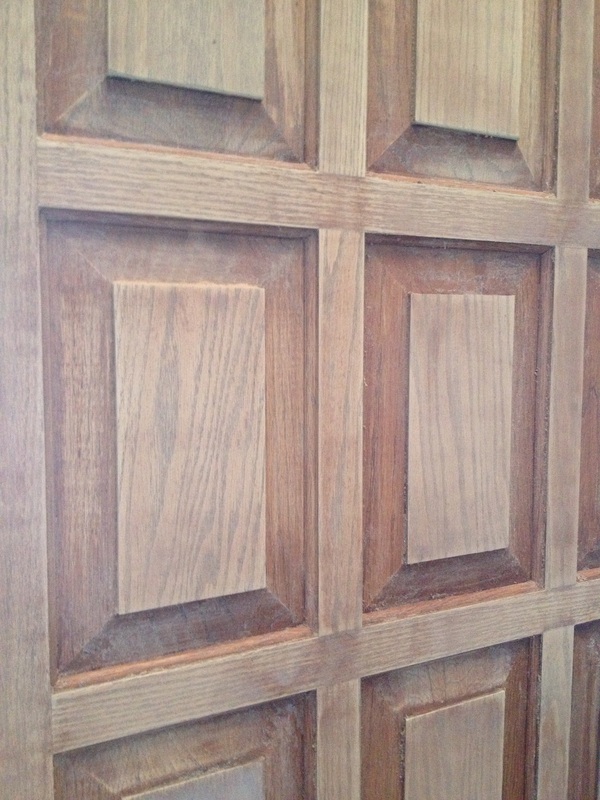
First, I used a stripping agent and then sanded. It is time-consuming, labor-intensive, and so not fun...but worth the end result.
I decided to head to the ReStore and purchased some crown there to play around with on my miter saw. So glad I did this first.
Since I wasn't ripping off the existing door casing and starting from scratch, I wanted to add a tiny bit of trim to "beef" it up a tad, so I used some base cap along the sides. A large piece of MDF that I had in my garage was added across the top of the existing trim. I then added a 1x4 piece of MDF and secured it to the top of the large piece of MDF. I then attached the crown and covered a seam with a strip of shoe trim. I think this is backwards from what I've seen, but with the length being pretty long, I had to do it this way. Most tutorials suggest building the crown/cornice "box" and then securing it.
All I have to say is thank GOODNESS for caulk + paint. It's amazing how it can conceal imperfections. And OMGosh...I have plenty!


Paxton is pretending to be as excited as his mama...! :)


 RSS Feed
