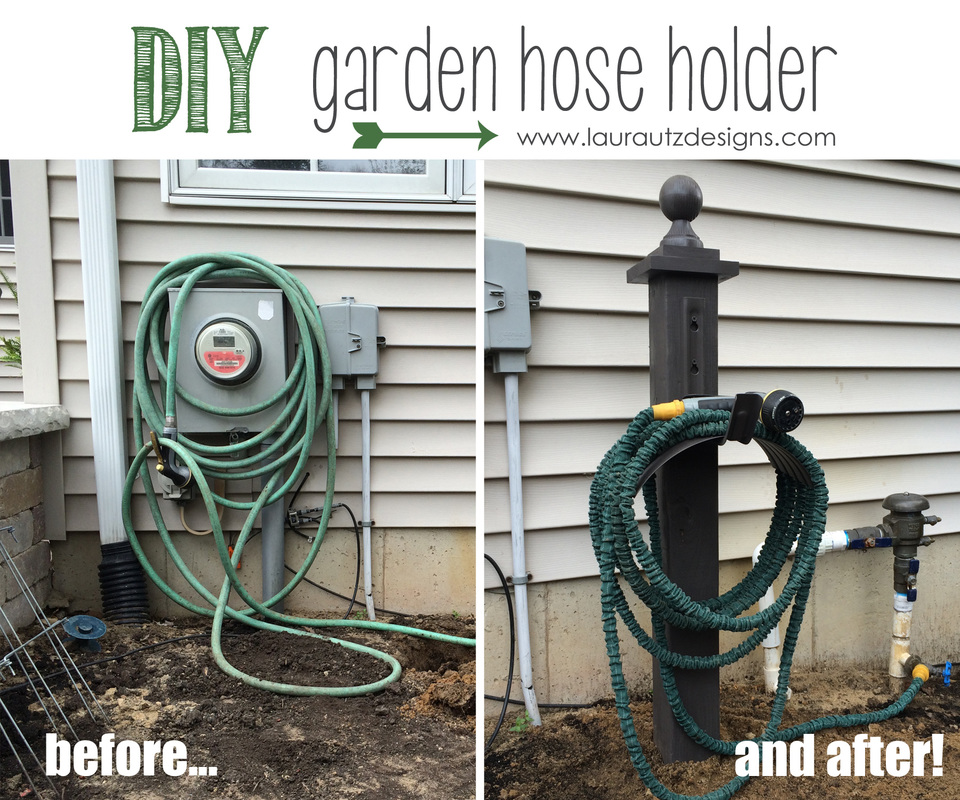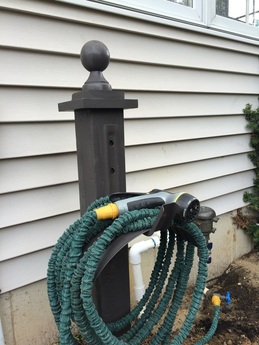
I scored over at the Habitat for Humanity ReStore, finding my 4x4 for only $4, so less than half of what the girls had paid for a new one at Lowe's. The metal hose holder was purchased at Meijer for about $8; I had the 2 square pieces in my scrap wood pile in my garage, and the cute finial was about $2.50 over at Menards.
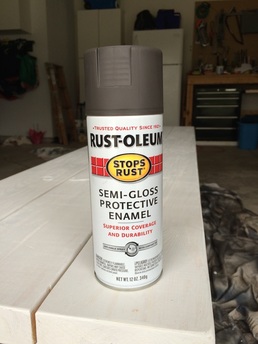
This little hose holder was just too cheap, too easy, & too cute click here for the step by step directions, which I followed. Again - SUPER easy. not to try and make. I absolutely love it! And CLEARLY...I was in desperate need of something to hold my garden hose. My two favorite gals over at Shanty 2 Chic were the master minds behind this one. You can I scored over at the Habitat for Humanity ReStore, finding my 4x4 for only $4, so less than half of what the girls had paid for a new one at Lowe's. The metal hose holder was purchased at Meijer for about $8; I had the 2 square pieces in my scrap wood pile in my garage, and the cute finial was about $2.50 over at Menards. I used 2 coats of my new favorite Rustoleum paint on it, which complements the colors we have on our patio, that is to the left of the garden area. It's the perfect shade of "weathered brown" for outdoor items - big fan! Now bring on the warm weather!
1 Comment
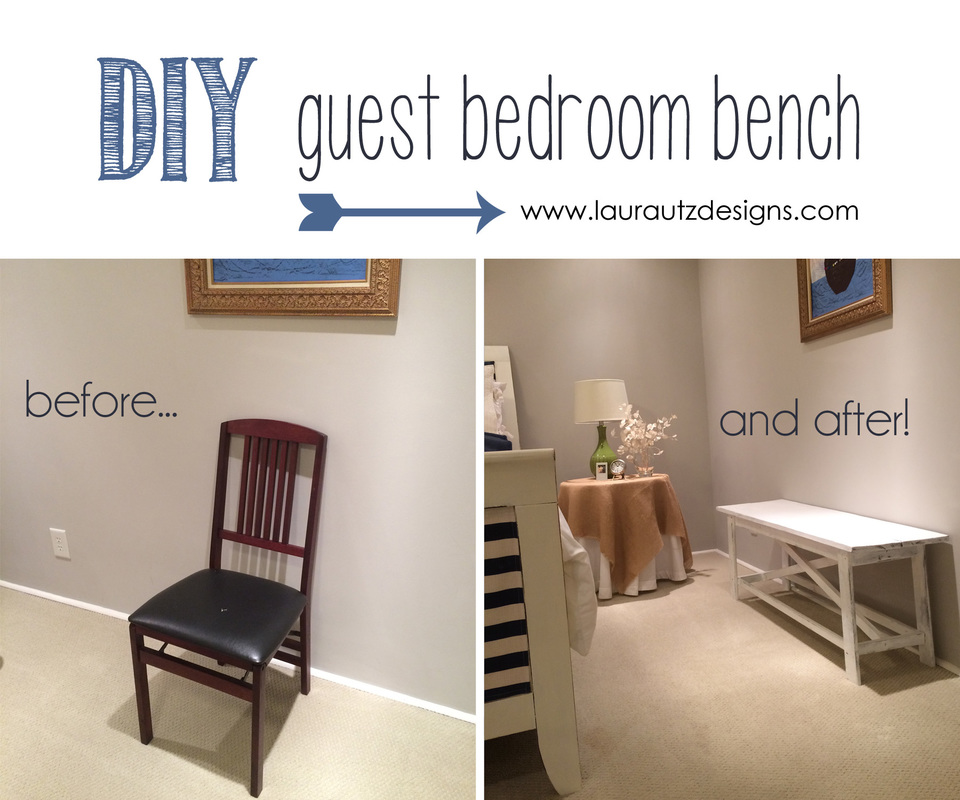
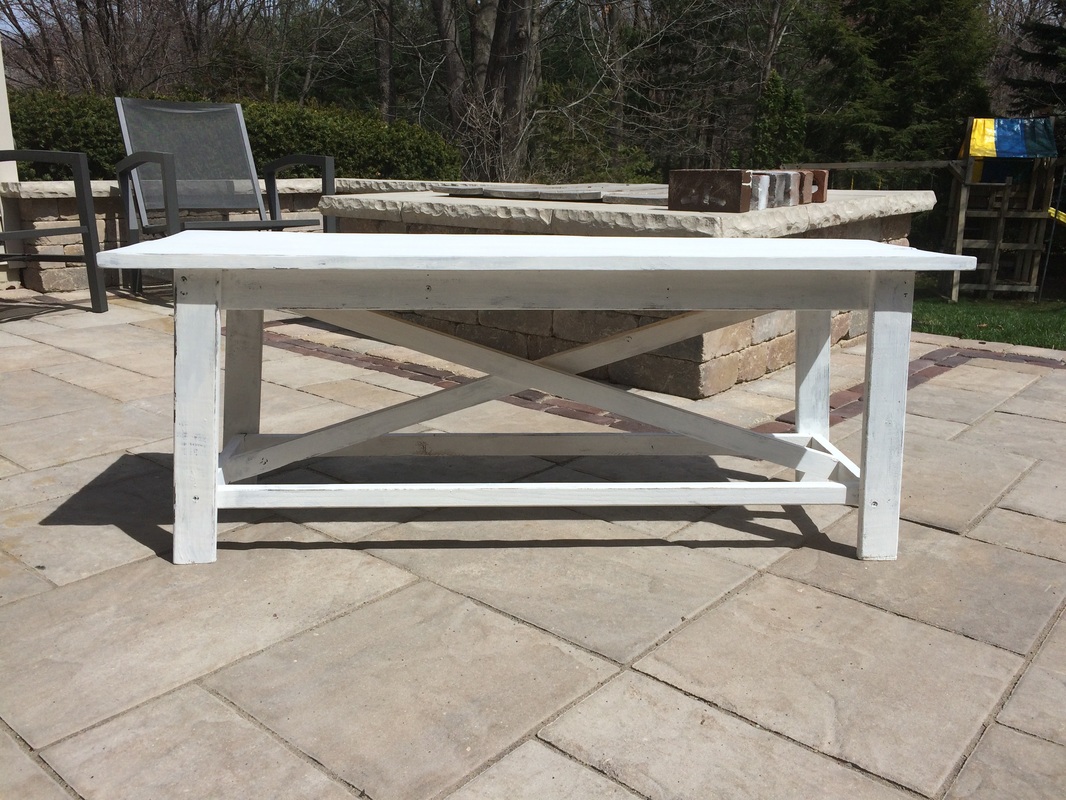
This bench is EASY + INEXPENSIVE and is the perfect, casual addition to any room! Whenever my mom comes to spend the night, she goes to a closet in our basement and pulls out a folding chair, so that she has a place to set her bag. And it's taken me four years to fix that problem! Now our guests will have a larger (and cuter) option to use for their belongings!
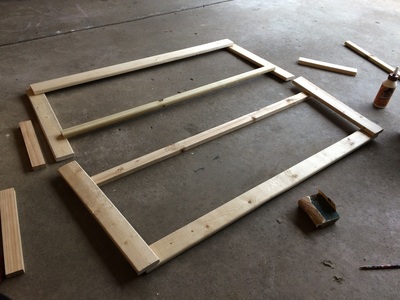
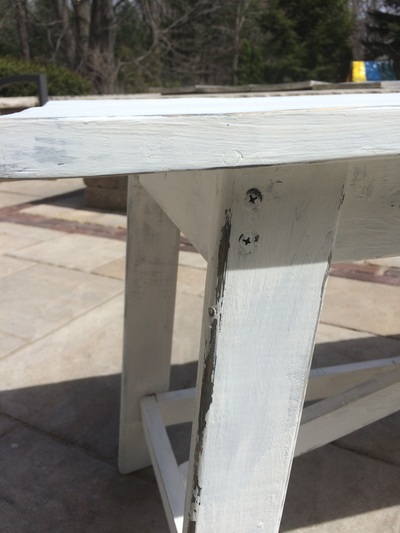
I found the plans for this bench in Ana White's book, The Handbuilt Home - 34 Simple Stylish and Budget-Friendly Woodworking Projects for Every Room. You can purchase it on Amazon or check it out from your library (which is what I did!). It's filled great ideas. You can also view her plans for the Rustic X Bench here on-line. We (yes, my husband assisted me with this) modified it just a tad, using some scrap wood we had in our garage for some of it. This is more of a decorative accent bench, as opposed to something you'd use daily at a table, but it's sturdy & stylish - a win + win for me! I lightly sanded it, then spray painted the edges with black paint. I then painted it with white chalk paint, sanded the edges (so the black would pop out a tad) and then finished it with a clear wax, giving it a rustic look. VERY easy. |
Hello there! Welcome to my teeny tiny space where I share a little home inspo as well as my passion for teaching and working with children. Thanks for stopping by!Archives
May 2018
Categories
All
|