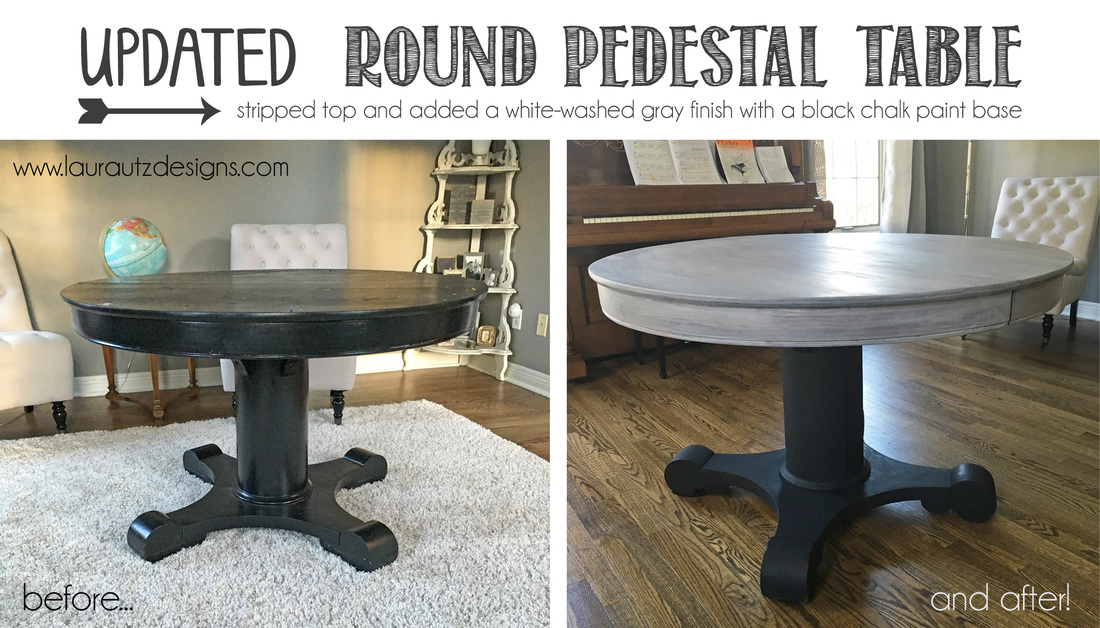
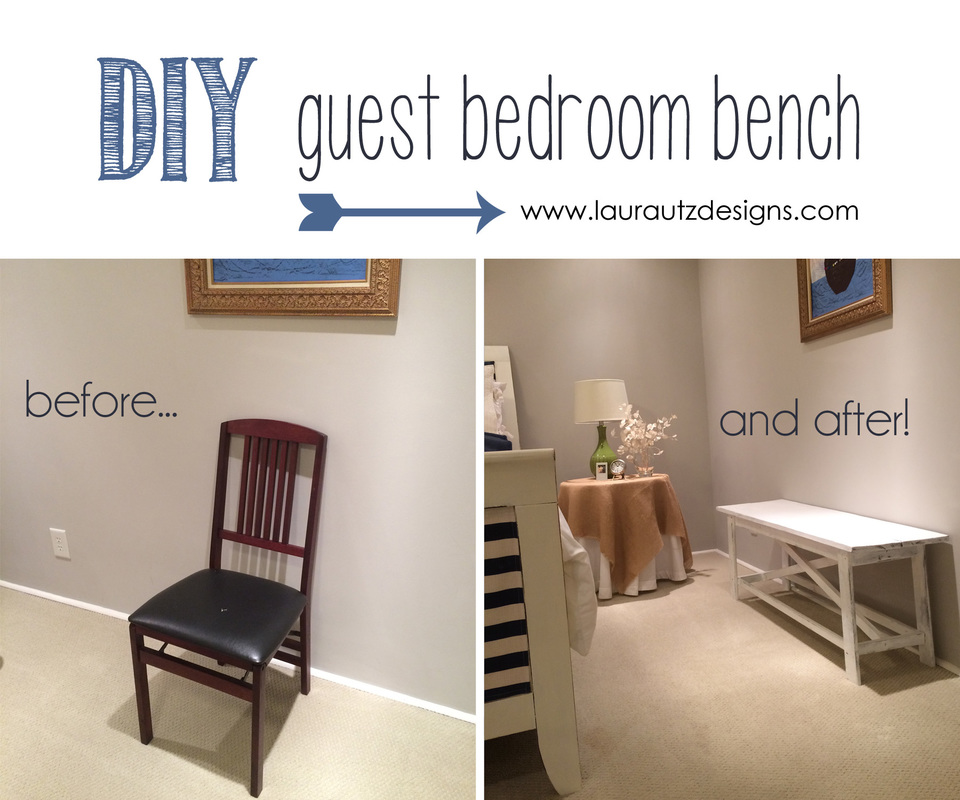
Man...this "teaching thing" has definitely prevented me from getting my hands a little dirty lately! With a free weekend, I should have been packing for our upcoming move, but I couldn't resist the opportunity to get to work on my latest FB garage sale purchase. A friend of a friend listed this incredible pedestal table and when I saw it, I knew I had to have it. I have no idea where it will go in the new house, but I'm pretty sure that finding a spot won't be too hard...
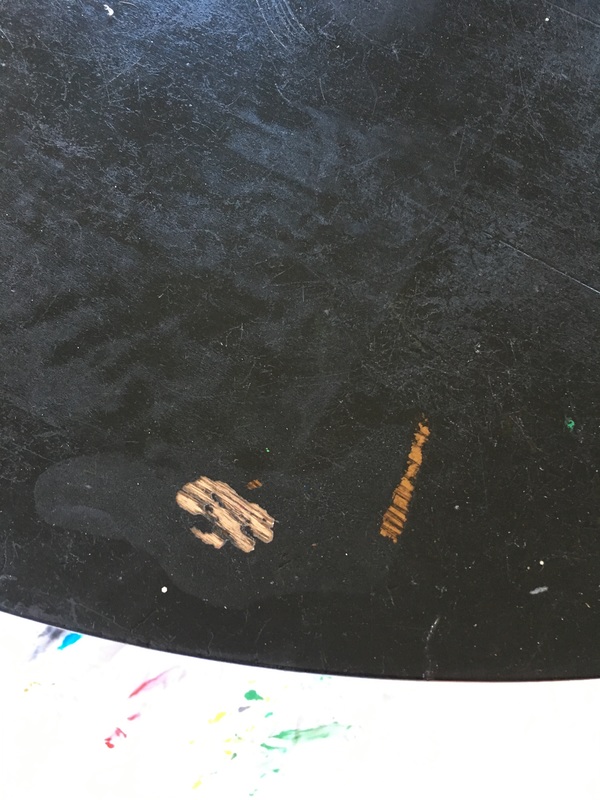
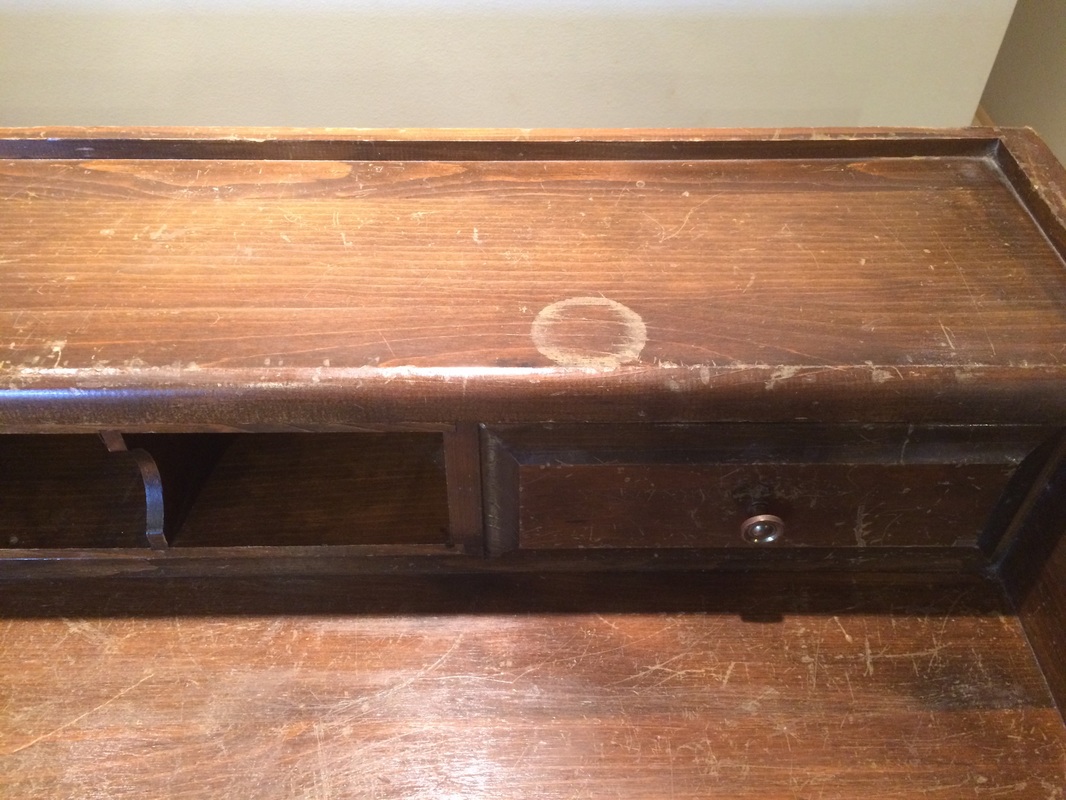
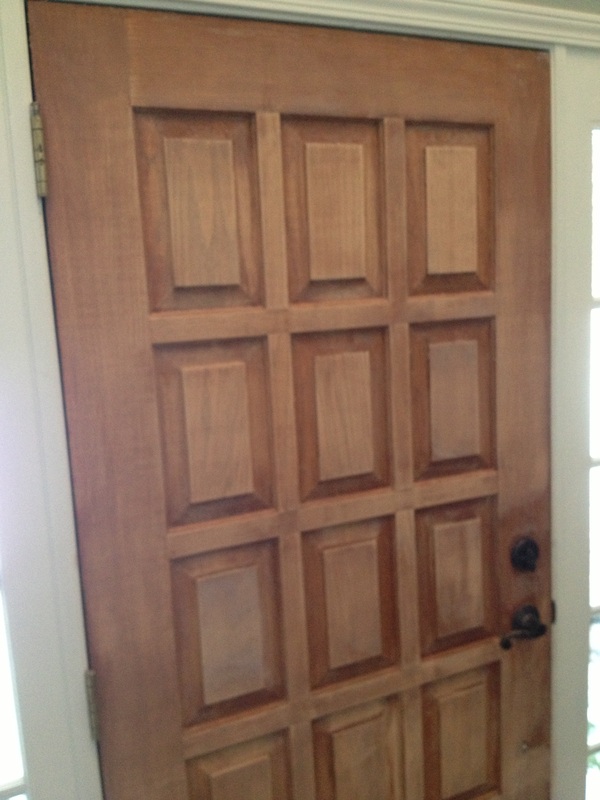
The table is an old, sturdy antique and had been painted in a glossy black paint. When I noticed the area of chipped paint on the top of it, I caught a peek at the wood and was so excited!
The table is an old, sturdy antique and had been painted in a glossy black paint. When I noticed the area of chipped paint on the top of it, I caught a peek at the wood and was so excited!

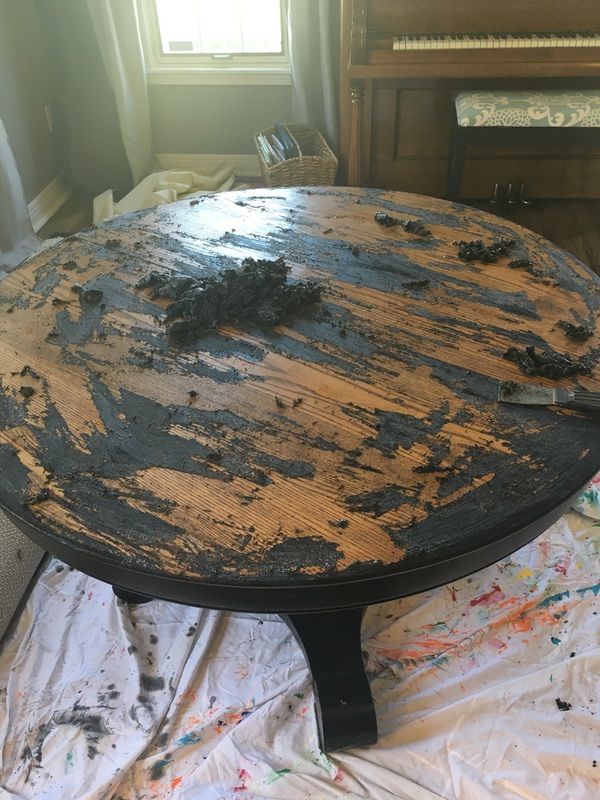
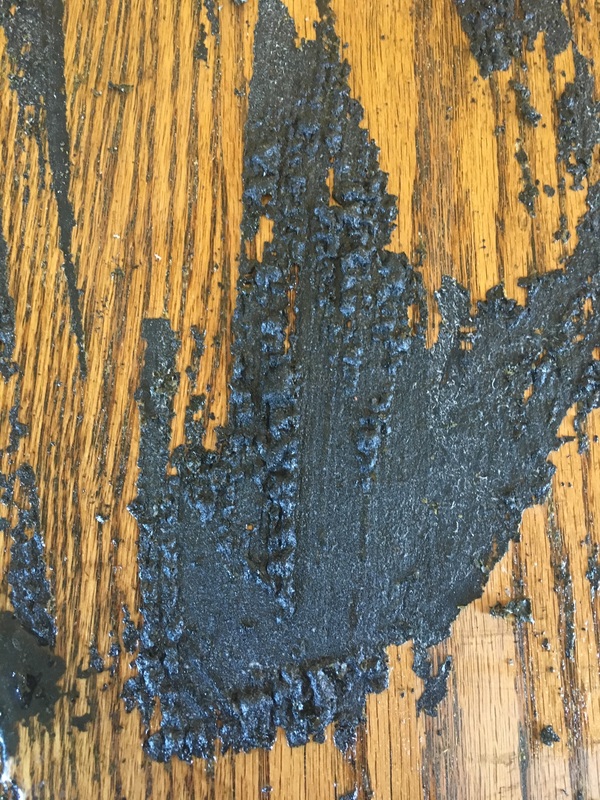
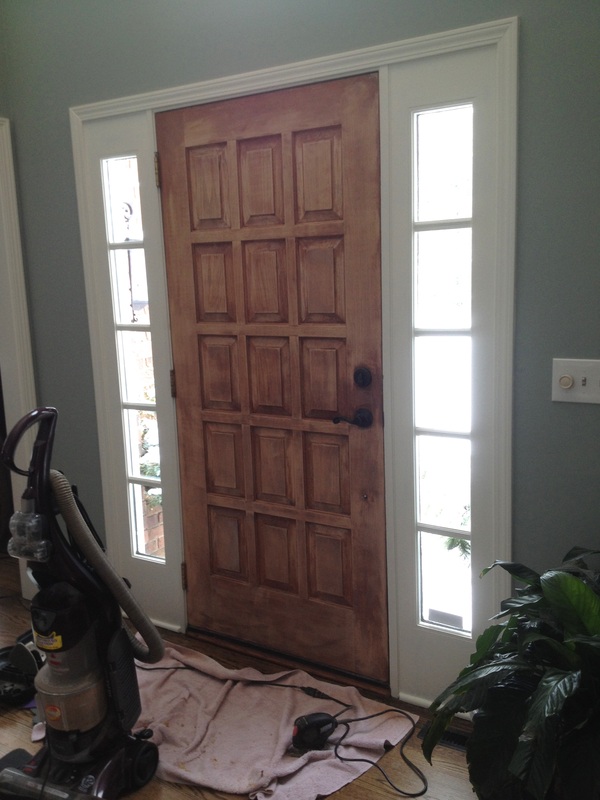
I decided to strip the top portion of the table. If you're a person who loves to pick, peel, etc. like me - a project like this will be right up your alley! I used a product called Strip Fast Power Stripper. I simply brushed the product on, and the paint began to bubble in about 10 minutes. I then used a putty knife to scrape off the paint and then wiped it with towels.
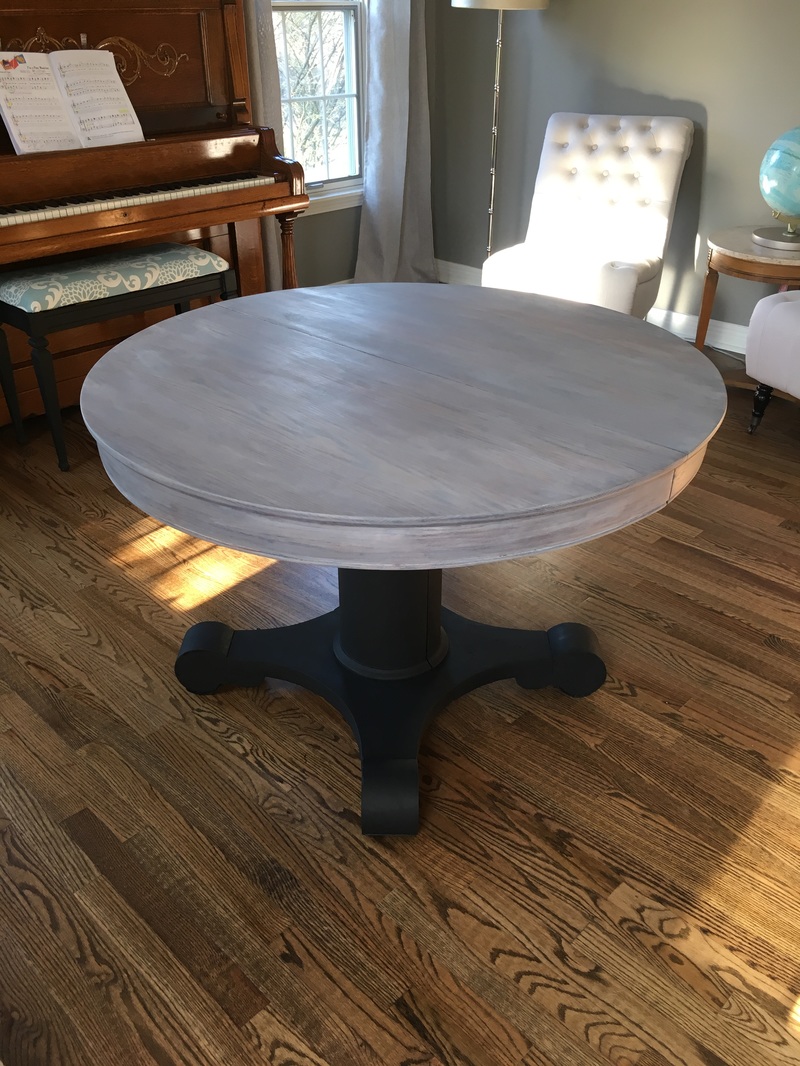
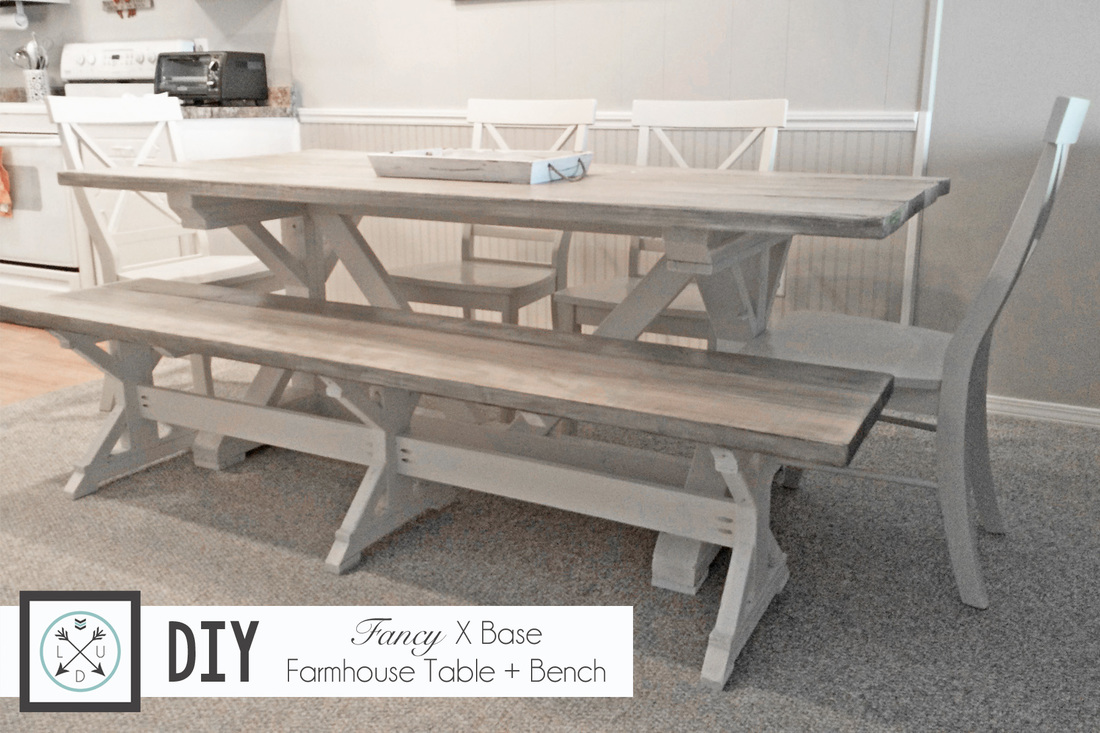
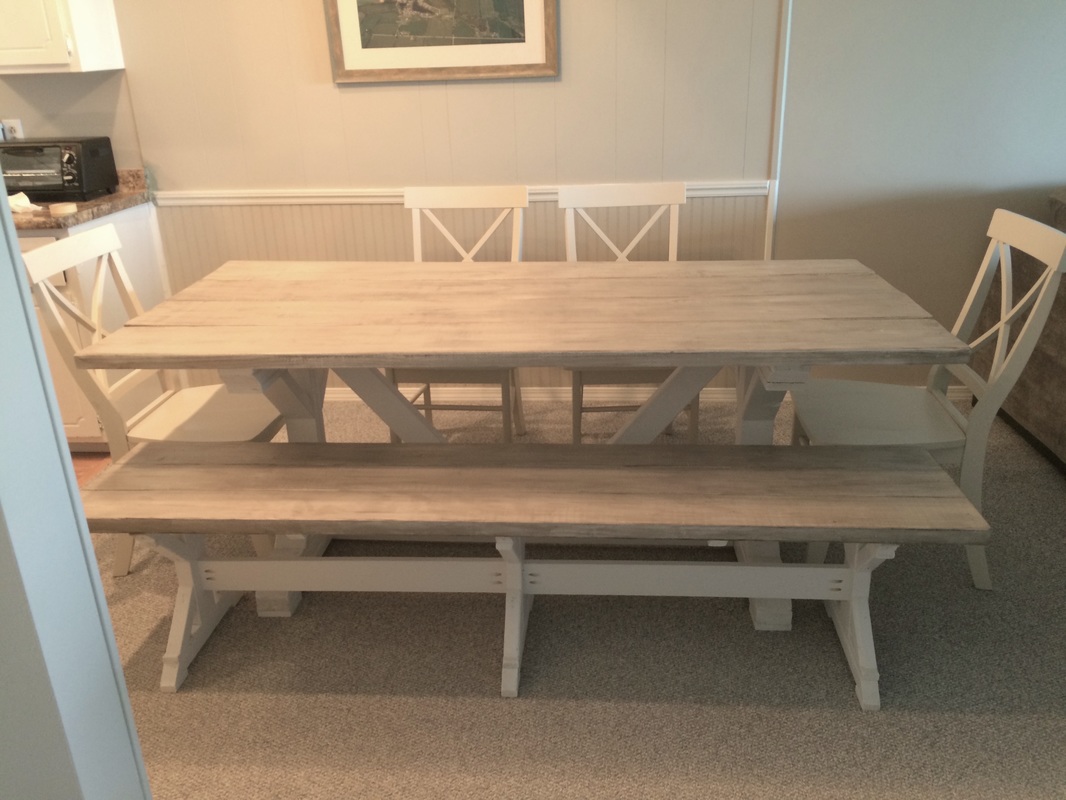
I decided to go for a white-washed + gray look that still showed the grain of the wood for the top and then keep the base black. I mixed about 1 part white chalk paint with 2 parts water and wiped it on the top. I then wiped on Minwax stain in Classic Gray and rubbed until I achieved the look I was going for. Next, I painted the base in a black chalk paint.
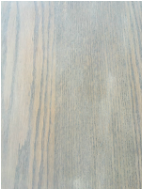
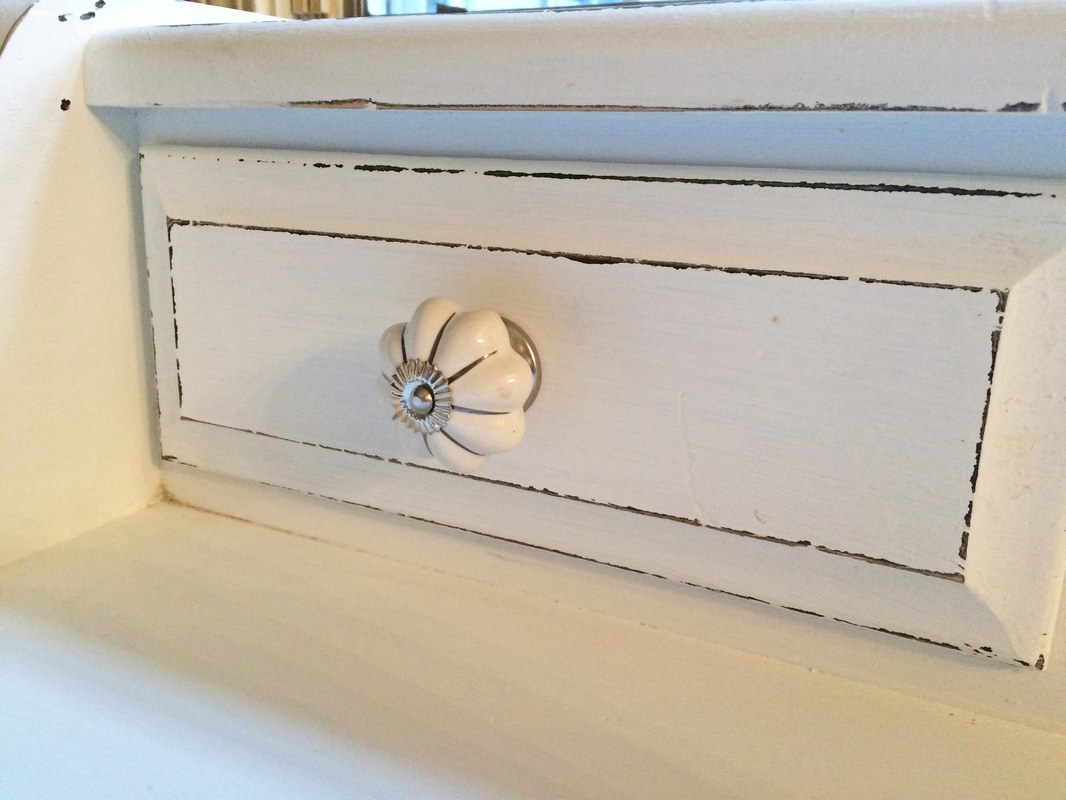
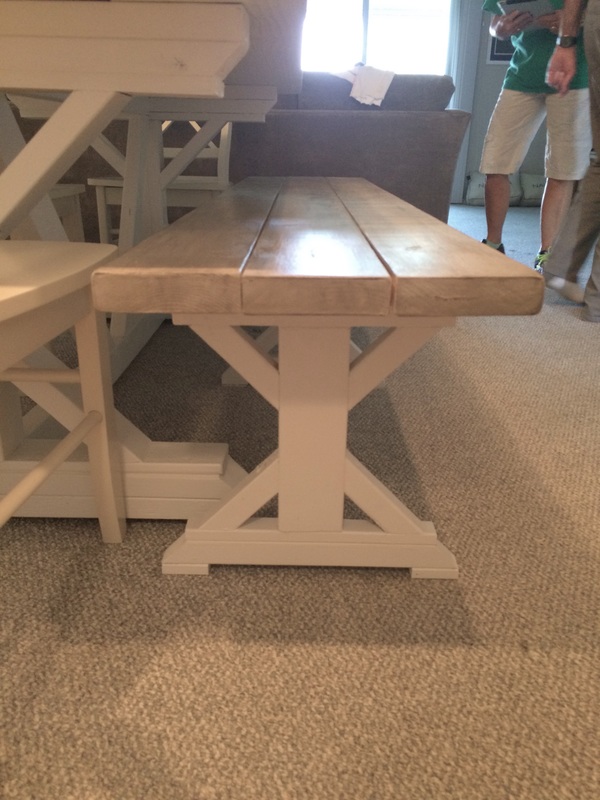
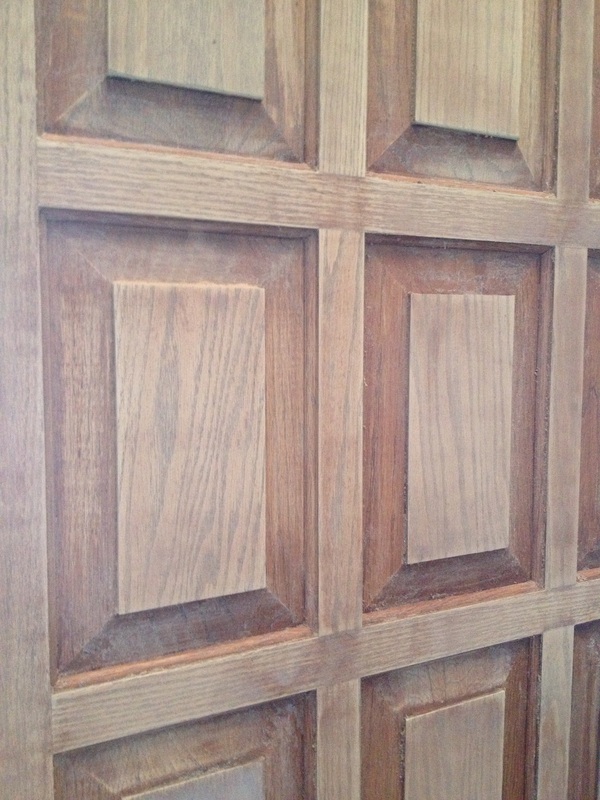
To the left is a close-up of the finish.
To the left is a close-up of the finish.
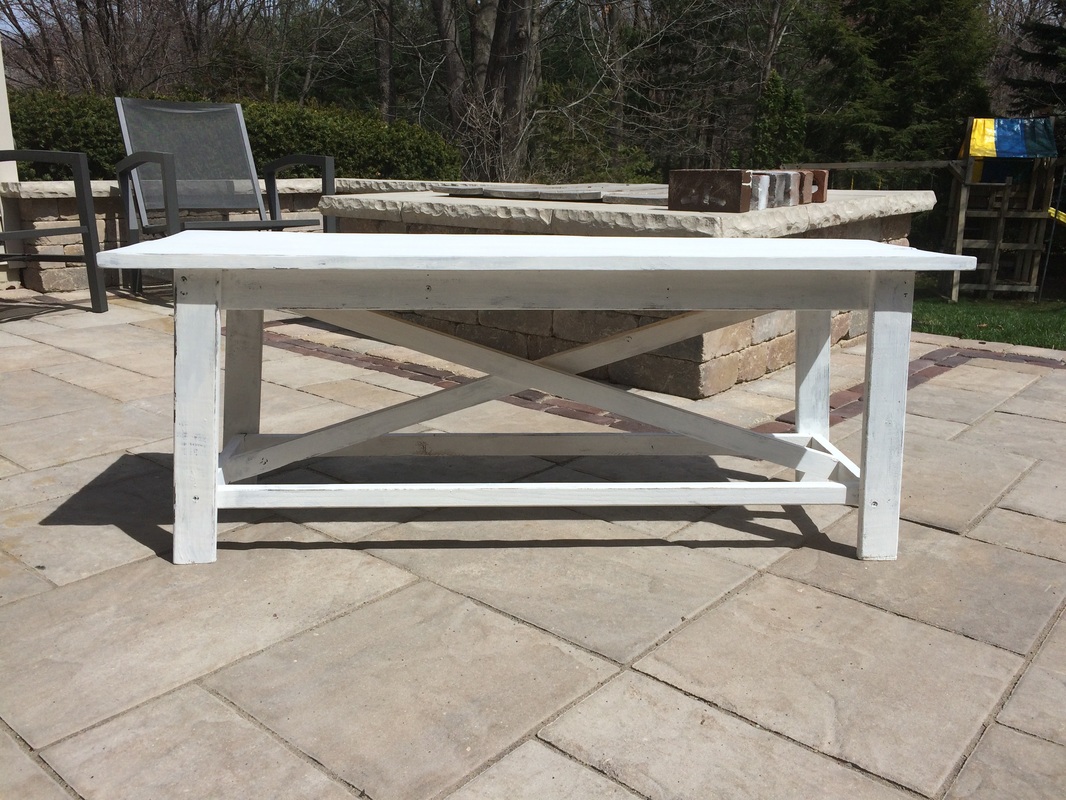
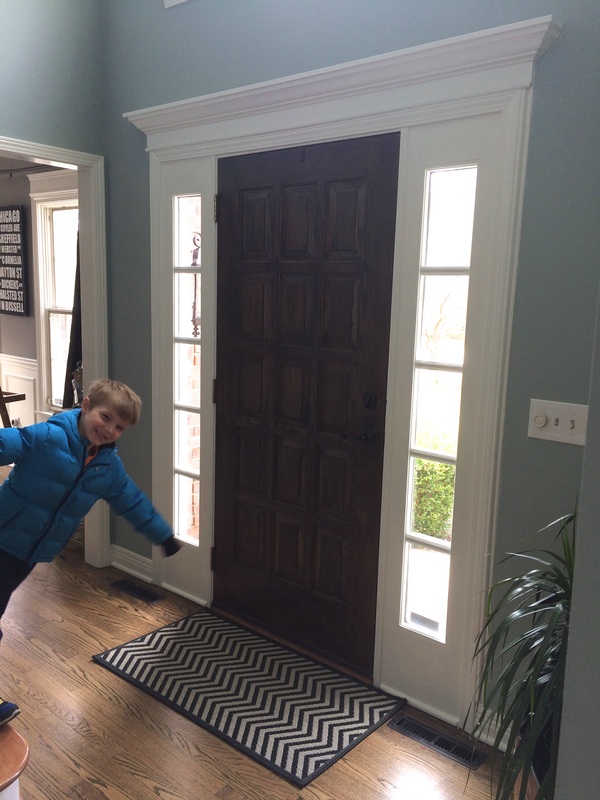
I just love it and cannot WAIT to buy some chairs and find a spot for it in the new pad!


 RSS Feed
