Awhile back, I stumbled across the girls over at www.shanty-2-chic.com and swear they'd be my best friends, if we lived near each other. They're AMAZING...truly. I saw their $65 DIY dining table and knew that was exactly what I wanted to try. We {read, Nathan} followed their plans exactly as they show on their site here. They teamed up with Ana White for the plans, which can be found here. All of these women have some serious DIY talents - far beyond anything I could dream of - but this table was a great first "big" project for us to tackle.
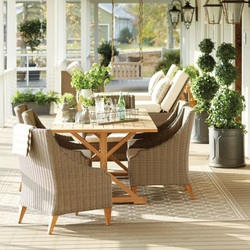
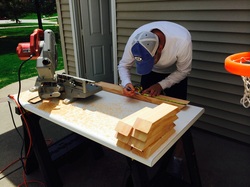
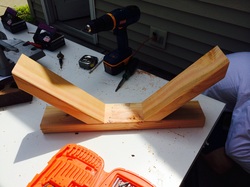
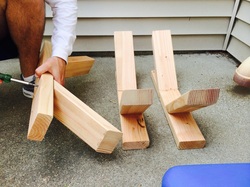
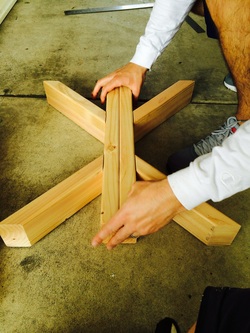
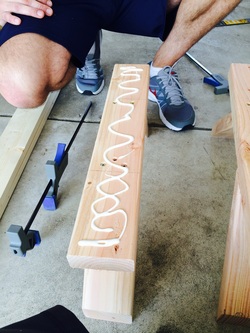
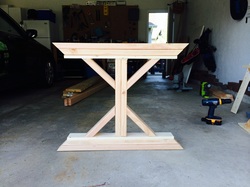
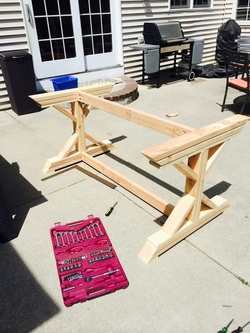
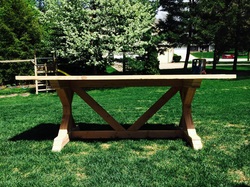
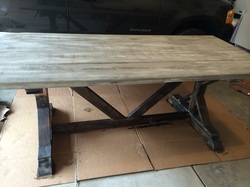
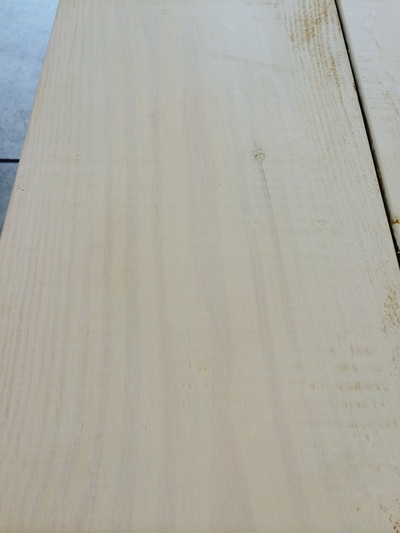
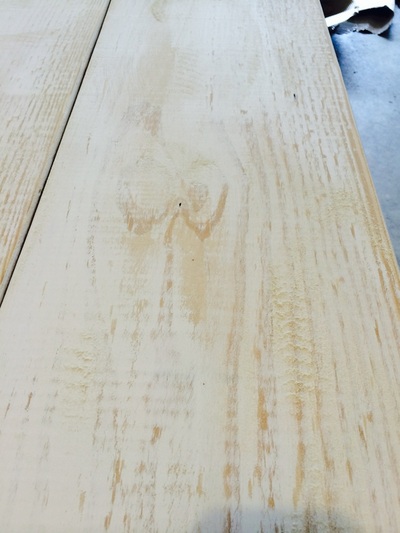
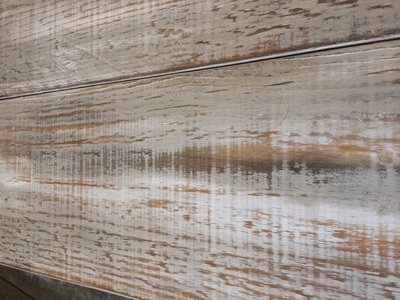
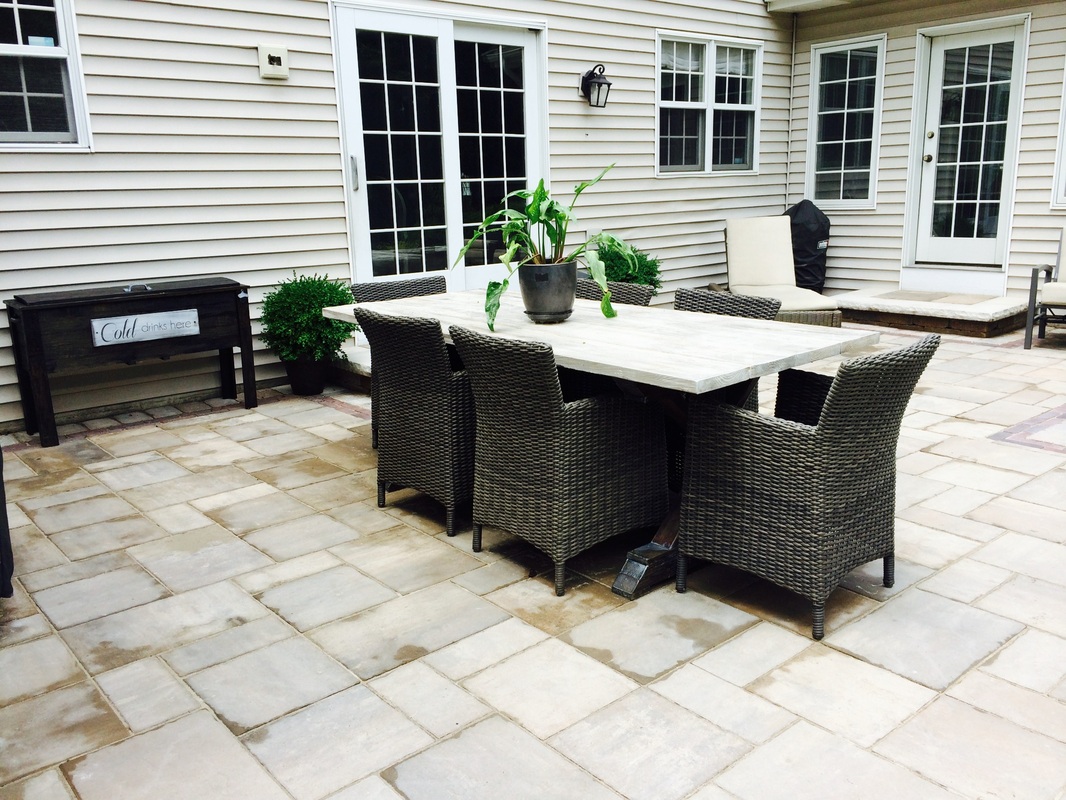
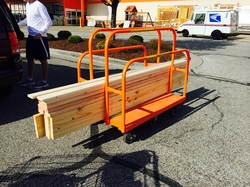
This may be my favorite DIY project yet...seriously. IN LOVE with my new outdoor table that I coaxed Nathan into making me for Mother's Day. How awesome is he?!? Awhile back, I stumbled across the girls over at www.shanty-2-chic.com and swear they'd be my best friends, if we lived near each other. They're AMAZING...truly. I saw their $65 DIY dining table and knew that was exactly what I wanted to try. We {read, Nathan} followed their plans exactly as they show on their site here. They teamed up with Ana White for the plans, which can be found here. All of these women have some serious DIY talents - far beyond anything I could dream of - but this table was a great first "big" project for us to tackle. This set from Ballard Designs was my inspiration. But the $4,199.00 price tag...not so much. Everything in their catalog is simply stunning...love their things! Below are some photos of our journey: We bought our lumber at Home Depot. They're not kidding when they say it costs $65 - right on! Plus, we added in hardware and a couple of drill bits, so we spent a little more. Since we knew it was going to be an outdoor rustic table, we purchased the inexpensive, untreated pine. Nathan began the measuring & cutting from the cut list. Assembling the first 1/2 of our first X. Finishing the third of four "halves." The first X is cut & assembled! Gorilla glue is amazing! One end is complete! Two ends + braces - yahoo! Fully assembled with top pieces attached. The only modification we made was that we shortened the length from 8 feet down to 7 and made necessary adjustments in cuts. In comes Lou la Belle:) I lightly brushed on a thin coat of white paint, then sanded it. Next I mixed a stain with some Dark Walnut + Ebony that I had and began wiping it on, then wiping it off. My goal was to create a naturally weathered look, which I think turned out great! I wanted a contrasting base, so I finished that in two coats of Ebony. After it was completely dried, we used 4 coats of outdoor Varathane Spar Urethane. We absolutely love it! We updated our patio early this summer and the new table & chairs completes it. Super excited! Now if it will ever stop RAINING here in Indiana - maybe we could enjoy it!
0 Comments
Leave a Reply. |
Hello there! Welcome to my teeny tiny space where I share a little home inspo as well as my passion for teaching and working with children. Thanks for stopping by!Archives
May 2018
Categories
All
|